Showing posts with label craft. Show all posts

Saturday, October 19, 2013

What's on my sewing table....

I decided to start making laptop/ipad covers again.  I was inspired after hanging out at Crafty Bastards the other week.  So off to the Goodwill I went and scored some sweet men's blazers and vintage pillow cases.  I'll be posting them on my Etsy side as soon as I get some more made.  I just love the sleekness of the covers.  I'm using new interfacing which is not so much fun to sew, so I need to work on my corners.  Tricky buggers they are.


Sunday, December 30, 2012

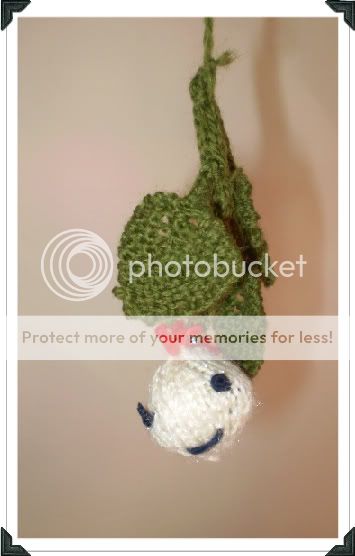
Christmas Ornament Craft Swap

December is such a fun time of year.  I love making presents for my friends and family.  It's also the time of year of the Christmas ornament craft swap.  This is my 3rd or 4th year participating.  It's always fun opening up the packages to see the different ornaments the girls make.  Here's a peak at last year's ornaments.

This year I sewed fabric birds with scrap fabric.


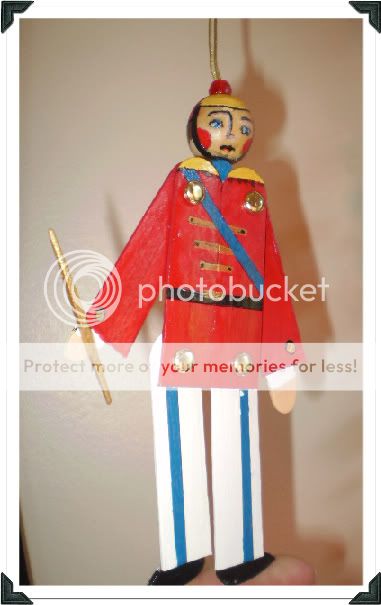
And here are the darling ornaments I received! 


Thursday, February 2, 2012

Handmade salt scrub

I absolutely love a great salt scrub and have spent $50 on scrubs before.  I tell no lie.  A couple of years ago when I left the high paying fashion industry and became a student again, I could not afford $50 on salt scrub. However, I was not doing without my scrubs so I did what every smart budget shopper does - starting making my own.

It's so easy. I swear, three ingredients tops and you can make a good quality salt scrub for a lot less than $50.

You really only need to ingredients to make a scrub: salt and oil. You can add fragrance if you want or just leave it with the salt and oil.   You will need to have a container with a good seal on it, any jar will work.

The type of salt and oil you use it completely up to you.  I like to use a good fine grain sea salt, do not use table salt with iodine.  Sea salt contains more minerals than table salt or even some kosher salt.  Sea salt is refined less than some other types of salt which means it contains natural traces of minerals including iron, magnesium, calcium, potassium, manganese and zinc.  The brand does not matter, which ever type of sea salt you normally purchase; you can purchase really expense sea salt so get what is in your budget.  If you have sensitive skin you can also replace sugar for the salt, but be careful not to eat it in the shower!  

The type of oil you use will depend on what you like. I normally use a good grade of organic olive oil, but you can use almond or safflower oil.  Some recipes will tell you you can use coconut oil, which is great for the skin, but it hardens below 76 degrees, so you would have to keep it really warm.
You can get really technical and measure, but I just pour a little of each into my container until it's the consistency I want.  This way you can get a drier scrub if that's what you prefer.  Once the two are mixed you can add some fun fragrances; lemon, ginger & cinnamon, lavender. The possibilities are endless! Your oil and salt will separate, just mix it together before you use it.

My most recent batch of salt scrub I used Aura in Seductive Sage.  Aura is one of the massage oils that I sell with Pure Romance.  It has lots of great oils in it including almond and safflower oil, plus it's in a yummy scent that I just can't get enough of.

Wednesday, December 21, 2011

Kitchen Play Mat

You might remember my nephews messenger bag play mat, well once my friend saw it, she asked me to make one for her friend's daughter.  After racking my brain on what kind of mat to make I decided on a kitchen.  There are tons of kitchen play mats out there so if you are looking for ideas, just google kitchen play mat.

I put four burners on the mat with a sink.  I added a fridge that opens up with a shelf on the inside.  I decided to make some food for her to play with and had so much fun making the felt food; it was hard to stop and not continue to make more.  The soap is removable, and the water is blue ribbon.  I wanted to make the mat very interactive and have lots of texture for her.  I hope she loves playing with it.


Monday, December 12, 2011

Holiday Garland

I decided I wanted a little something to dress up my mantel this year and remembered a post I saw at one time with garland made from cut out magazines.  I thought it was a cute idea, so I dug out my old Budget Travel magazines and started cutting.

I guess I had forgotten how tedious it was to cut out circles without using a dye cut. So if you have access to something that will automatically do it for you, skip the scissors! My circles are not the most even circles I have ever cut, but from a distance you can't even tell.

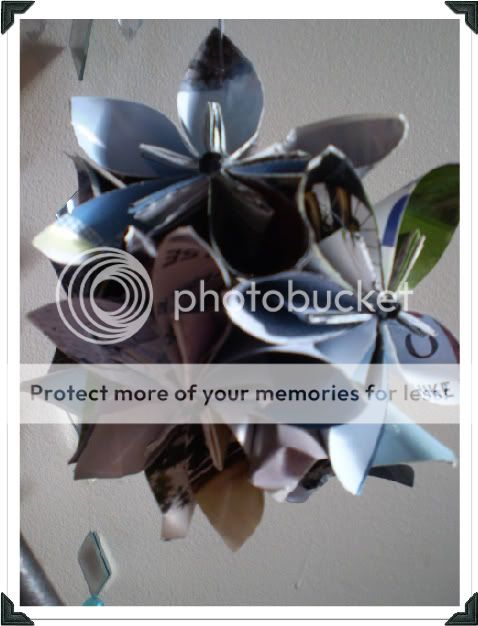
After I cut out the circles, I stacked four of them together and sewed them into a strand.  Once they were sewn together, I just bent the circles to create a 3-D ball of sorts.


Friday, December 24, 2010

Happy Christmas!

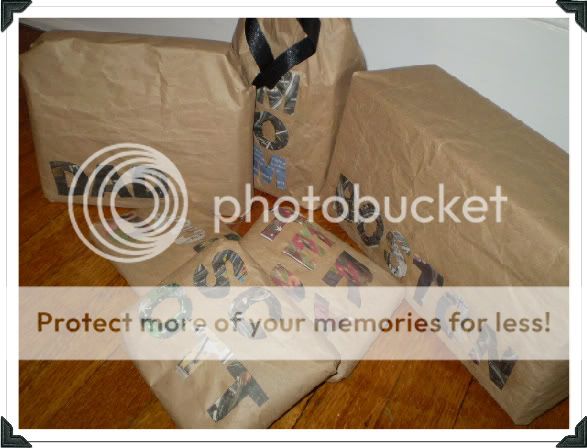
This year in an attempt to make my gifts more personal, I made my presents for everyone.  They all pretty much got the same thing, but I feel like it was a very practical gift.  I'll show more pictures after they open their presents tonight or tomorrow!  


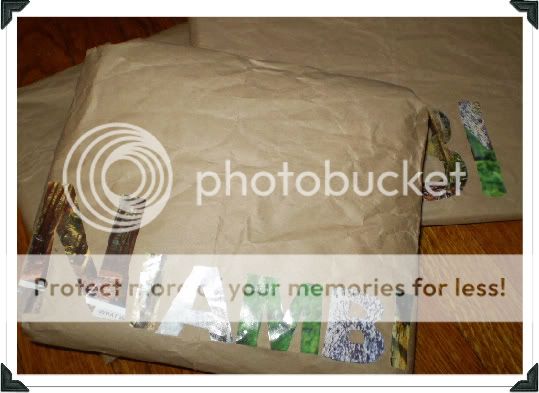
I have always been drawn to keeping my wrapping very simple and clean looking.  In my shipments of inventory from Pure Romance I received wads of brown paper that acts as filler.  This paper is  great to use for presents! Cut out the names of the recipient from newspapers or magazines and you've got cute wrapping for your loved ones that chic and eco-friendly!

Thursday, December 23, 2010

Crafty Ornament Swap

Last month a good friend invited me to participate in an craft ornament swap and I jumped on the chance.  I had never done a swap so I was very excited to create something to share.  I needed to make 5 and I immediately thought about Fleur-di-lis with some fun stuff stitched on.  So I started cutting and stitching and I am quite pleased with the results. I already can't wait  for next year to add to my collection! 

Here is my ornament:


And the other side:

And here are my lovely ornaments I received: 

Saturday, December 18, 2010

Grocery Tote


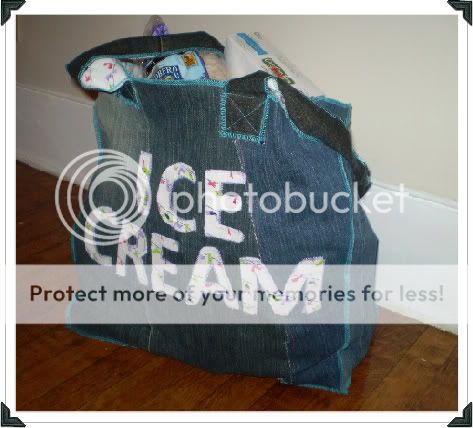
Are you tired of having all those plastic bags that you accumulate from the grocery store, from the drug store, from Target, from every where? Then it's time to make your own bags!  Lots of grocery store now are selling reusable bags, for a couple of dollars but in my opinion they are cheap and if you wash them a couple of times they will fall apart.  So take leftover fabric and whip up a couple of these and you'll never have plastic bags coming out of the cupboards.   I am making a couple of these for Christmas presents this year and love them so much, I'm going to have to make some for myself.

I saw Dana's tutorial over at MADE  and fell in love with the simplicity of the bag. She used plastic bags, but I had tons of old jeans, so I used fabric.  Dana also does a fabulous tutorial (much more in depth than mine!).

The first thing you want to do is decide how big you want to make your bag. I like bigger bags, so I decided to do 16"x16".  

  1. Cut out 2 squares the size you want, this will be the front & back.  I also decided to line my bag, if you want it lined, cut out 2 squares the same size in the lining fabric.  
  2. Cut out 3 squares 16"x5" for the sides & bottom.  (cut 3 for lining)
  3. Cut 2 strips 22"x2" for the straps (cut 2 for lining).
4.  If you want to applique the front of your bag do it before you stitch everything together. 
5. Sew each of the squares together to make your bag and lining. 
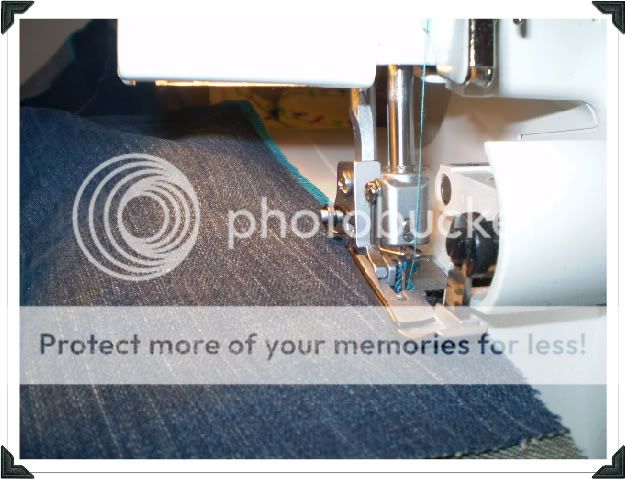
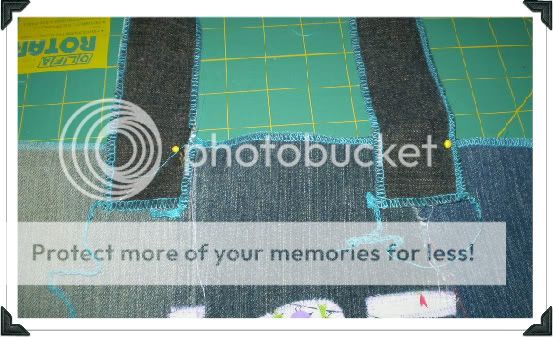
6. I liked the exposed seam look of the serger, but you can sew seams on the inside or outside.
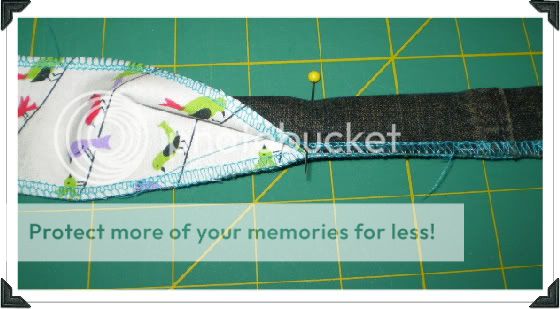
7 . Sew your lining to the bag, I surged off the top, keeping with the exposed seam look.


8. Sew your strap & strap lining together.  To  reinforce the handles fold about 4" in half in the middle, then stitch. 
9. Sew your handles onto your bag. 
10. Trim off all the excess threads and your done! 

Tuesday, December 14, 2010

Spelling Bags

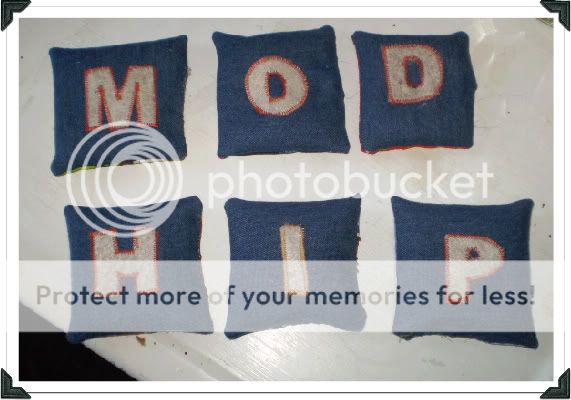
So I finally finished the cute spelling bags for my nephew.  It only took about a week for me to stitch them up! I knew the project would take time,  but I misjudge the amount of tedious work involved.  Cutting letters out by hand is not fun, and I am thinking I now need to buy a Cricut so I never have to cut out letters again! 

Needless to say I only worked on a couple of bags a day. My nephew is only 2 1/2, so I'm sure he'll throw most of them now, but I'm excited to work with him and help him learn his ABC's.  I got the idea from Chez beeper bebe. She has such cute projects on her blog.  I used rice for a filling instead of beans, only because that's what I had the most of around the house. 

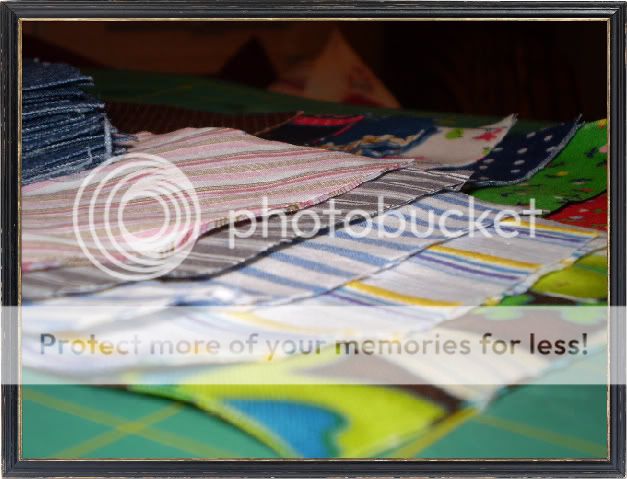
Here are my scraps of fabric all cut out.


 And here is a final look.
 
 You can spell fun words with them. 
 
 I used denim on the front with felt letters. For the bag I used scraps from mens' dress shirts 
and fabric scraps my grandmother had. 
 

Monday, December 6, 2010

Crafty Holiday Season

A few weeks ago, a good friend of mine asked me to participate in an craft ornament swap.  I hadn't participated in one before so needless to say I was pretty stoked.  My mind worked non-stop on what I  could make that would reflect my personality.  I decided to make a fleur-de-lis, the symbol of Louisville (my current place of residence). 

I am particularity happy with these, because they were made with stuff I had laying around the house! Last year I took a fabric painting class, the multi colored fabric from the fleur-di-lis is my practice fabric from the class.  The stripe backing is from a man's suit jacket.  Sewing the beads on wasn't as quite as tedious as I first thought it would be, only took two nights of sitting in front of the tele. 

 
Now on to my next project: Alphabet bean bags for my nephew.   Since he has about every modern toy known to man, I wanted to give a gift from the heart as well as something that would help him learn.  I got his idea from Chez beeper Bebe.  She has the cutest projects!

He is my stack of squares nicely cut out waiting for the letter appliques to be applied.  We'll save those for tomorrow!