Showing posts with label handmade. Show all posts

Thursday, October 31, 2013

TV stand to kitchen

I wish I could take credit for this idea, but I can't.  A friend of mine superbly transformed this entertainment center into a play kitchen.  I'm always seeing these old entertainment centers on the side of the road and personally I think they are a bit hideous, but amazing what a unique idea and a coat of paint will accomplish!


Friday, October 25, 2013

New laptop case

I have been  busy shopping, cutting, and sewing away new laptop and ipad cases to post in my Etsy store.  I'm super excited about some of the men's jackets I've found to use for the covers.  I think they add such a modern, yet funky twist.  I'm using new interfacing and padding and it's been a pickle trying to get everything right.  I just hate having to rip seams out and do everything over, and then rip seams out and do everything over.  Not frustrating at all!  The corner of this one is messed up, for whatever reason I was having a hard time sewing in a straight line.  This one will be my personal case, so I didn't worry to much about it.

I put the pocket on the inside of this case, perfect for pens or cords.


I still need to add a string to wrap around the buttons to keep it closed.  I'm not sure what color to use yet.


Sunday, January 13, 2013

Monster Hat

My nephew is 4 1/2 years old and for his birthday and Christmas receives a plethora of electronic toys.  I'm not completly against the blinking lights and sounds, but I think that children need toys where they can use their imagination more.  What happened to kids making their own sounds and moving the toys on their own? So I refuse to purchase anything that requires batteries for him.  Instead he receives dino play mat, alphabet blocks, dragon tails, and now a monster hat!

I used the template over at Running With Scissors.  She has great instructions so  I am not going to bore you with repeating it.    I used green fur, which was a pain in the booty to sew and little pieces of fur got everywhere.  The inside and trims are fleece.  Despite the mess that I am still cleaning in my sewing room, my nephew love it.  This is the best picture I could take of it.  There are navy pom pom ties hanging from the sides, you can't see in this photo.


Sunday, February 12, 2012

Dress in the works

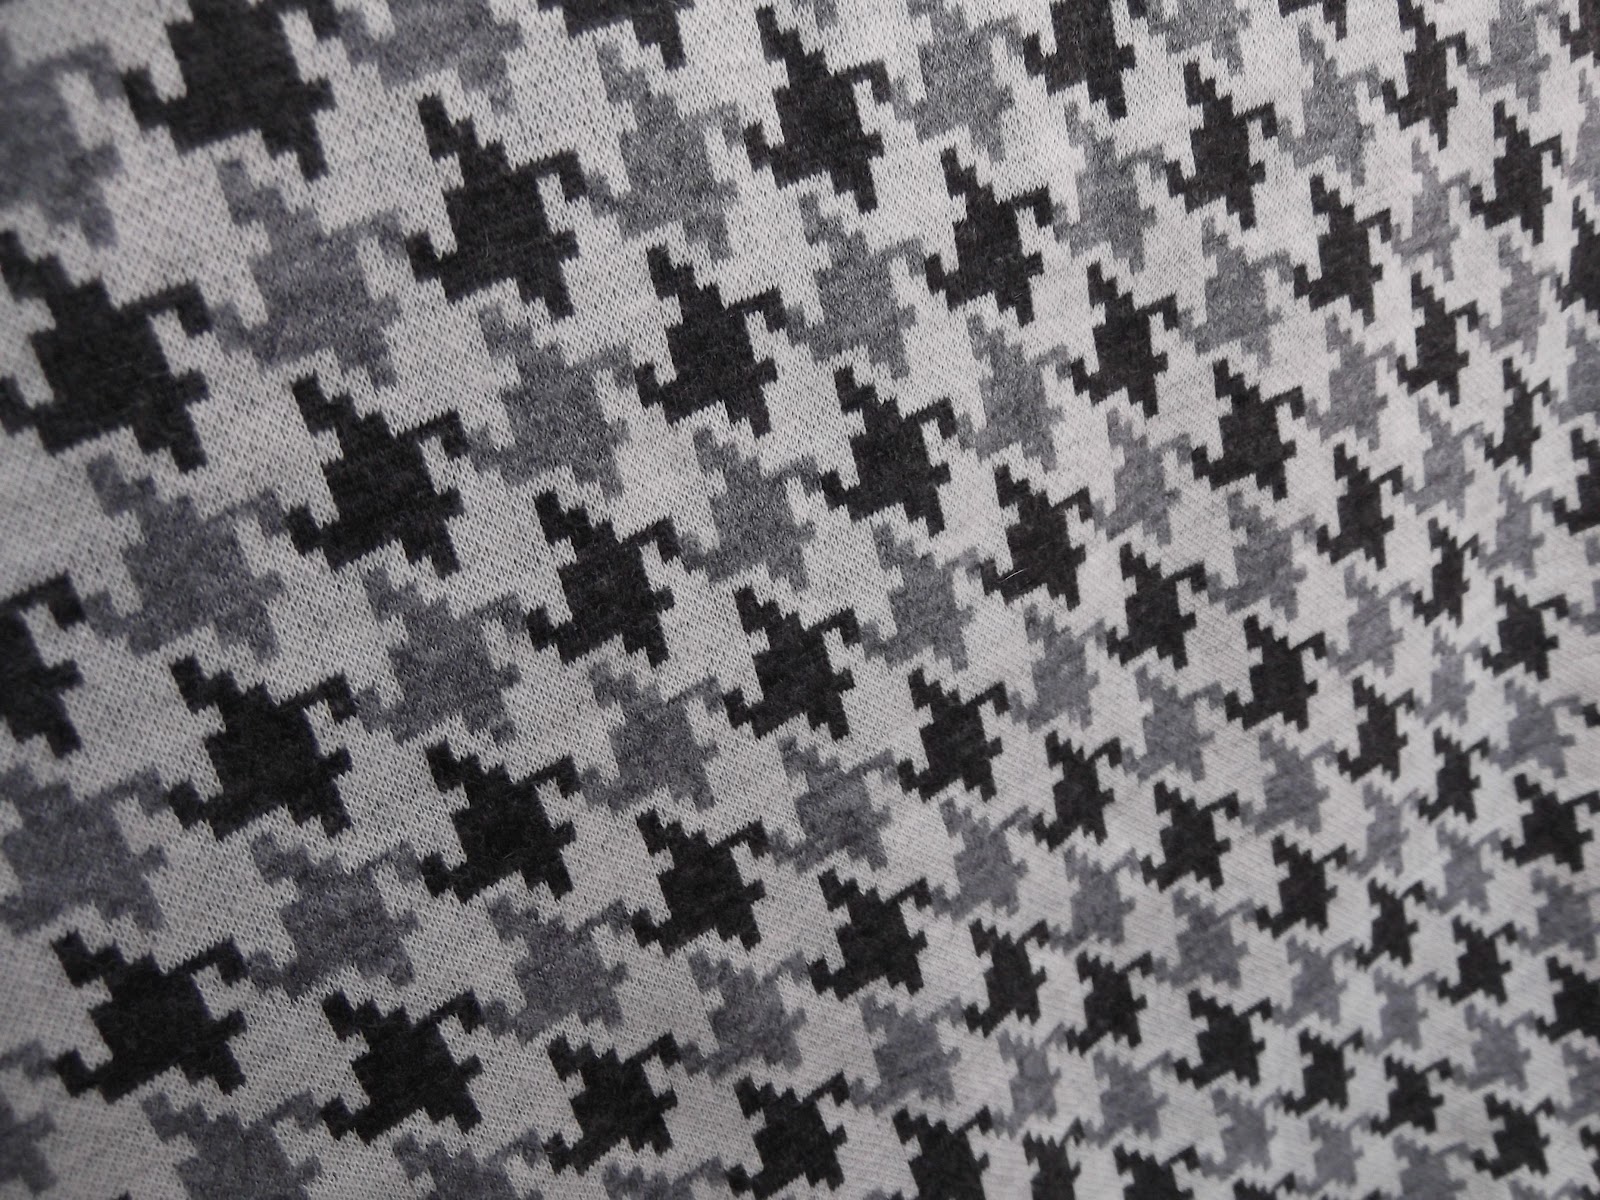
I found this fabric at a thrift shop the other week and had to have it; a great score for only in $2 in my book.  It's a great double knit and I immediately envisioned it as a sheath dress.  I think this will be my last sheath dress for a couple of weeks; I need to move on to making something else! Looking at my closet, I decided I need more shirts. And I picked up a pants pattern I am determined to conquer.  
The goal is to have this sewn by the end of the week.  That needs to happen in between class, parties, and research.  I can do it right?

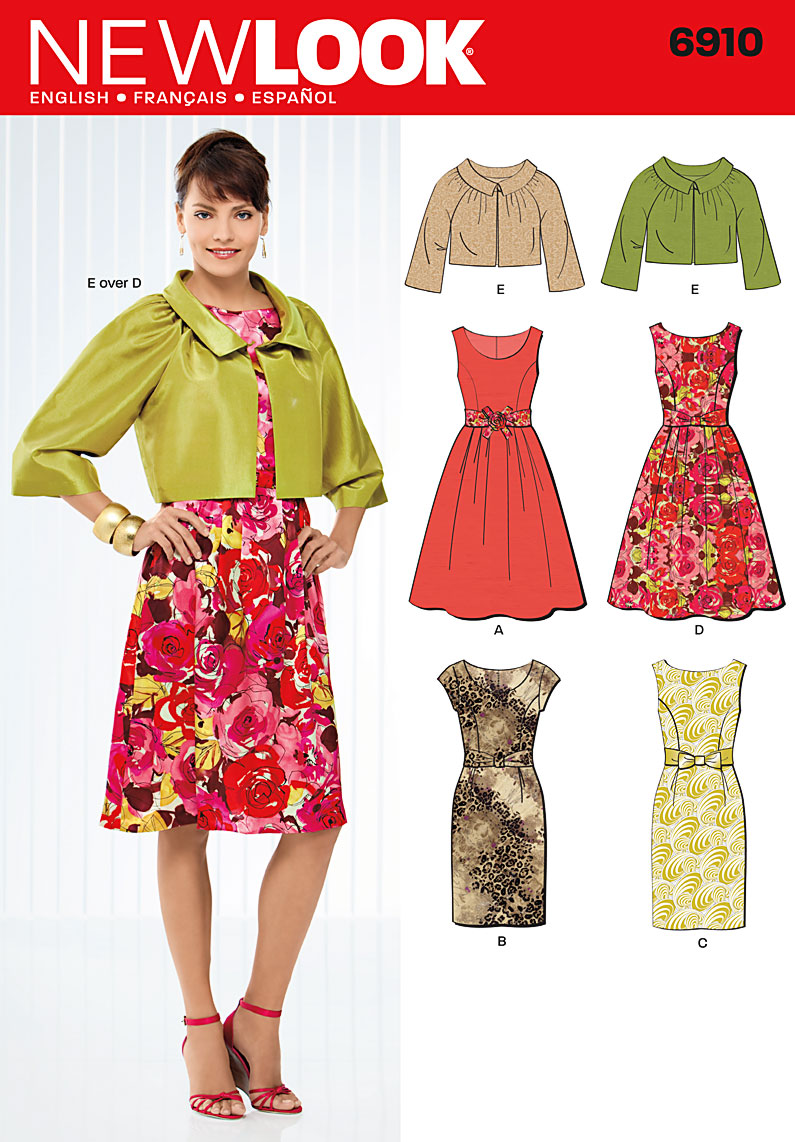
I will be using New Look pattern 6910, view B.  I will probably leave off the belt as I think the material will be too bulky.

Thursday, February 2, 2012

Handmade salt scrub

I absolutely love a great salt scrub and have spent $50 on scrubs before.  I tell no lie.  A couple of years ago when I left the high paying fashion industry and became a student again, I could not afford $50 on salt scrub. However, I was not doing without my scrubs so I did what every smart budget shopper does - starting making my own.

It's so easy. I swear, three ingredients tops and you can make a good quality salt scrub for a lot less than $50.

You really only need to ingredients to make a scrub: salt and oil. You can add fragrance if you want or just leave it with the salt and oil.   You will need to have a container with a good seal on it, any jar will work.

The type of salt and oil you use it completely up to you.  I like to use a good fine grain sea salt, do not use table salt with iodine.  Sea salt contains more minerals than table salt or even some kosher salt.  Sea salt is refined less than some other types of salt which means it contains natural traces of minerals including iron, magnesium, calcium, potassium, manganese and zinc.  The brand does not matter, which ever type of sea salt you normally purchase; you can purchase really expense sea salt so get what is in your budget.  If you have sensitive skin you can also replace sugar for the salt, but be careful not to eat it in the shower!  

The type of oil you use will depend on what you like. I normally use a good grade of organic olive oil, but you can use almond or safflower oil.  Some recipes will tell you you can use coconut oil, which is great for the skin, but it hardens below 76 degrees, so you would have to keep it really warm.
You can get really technical and measure, but I just pour a little of each into my container until it's the consistency I want.  This way you can get a drier scrub if that's what you prefer.  Once the two are mixed you can add some fun fragrances; lemon, ginger & cinnamon, lavender. The possibilities are endless! Your oil and salt will separate, just mix it together before you use it.

My most recent batch of salt scrub I used Aura in Seductive Sage.  Aura is one of the massage oils that I sell with Pure Romance.  It has lots of great oils in it including almond and safflower oil, plus it's in a yummy scent that I just can't get enough of.

Thursday, January 19, 2012

Sheath dress number....umm.....

Today I churned out a new sheath dress from Simplicity 2648.  I love this pattern because it is so easy to put together and it's super easy to customize.

Several weeks ago, or maybe months..anyway, I was in Banana Republic and saw this dress and just loved the waist detailing.  So I decided the next sheath dress I make, I would include similar detailing, I wasn't assuming I could replicate the Banana.  I couldn't get a closer image of the waist detailing, I am having a struggle bus kinda day when it comes to editing pictures.

I used a khaki light weight wool blend suiting fabric and black ribbon.  I like a lower neckline on my dresses, so I dropped the neckline a couple of inches.  Adding the ribbon was a pain in the butt, it took what seemed like forever folding and pinning the ribbon, then ironing it, then sewing it.  The detailing on the Banana dress is slightly different than mine, but after almost an hour working on the belt, I was done.  I am not sure if I like the puff sleeves, they might have to grow on me, but overall I like the dress! 


Sunday, January 15, 2012

New Dino Play Mat

For Christmas I made a couple of messenger bag play mats for my nephew and my friend's daughter.  Well, my friend love her daughter's play mat so much, she asked me to make one for her nephew.  I decided to do another dino play mat just because it's less tedious than the car mat; not that I didn't have fun making the car mat.  I decided to make some felt dinosaurs to go with this mat.

I searched the web for some sort of template to print and trace to get the baby dino shapes, I am not an artist so I knew that drawing a T-rex would not turn out so cute.  It took forever trying to find templates, maybe I wasn't using the right search terms.  I finally found some and had to re-size them in word; I totally saved that file in case I have to make these again.


Sunday, January 8, 2012

2011 Ornament Swap

In 2010, I participated in an ornament swap with a friend of mine.  Five of us hand crafted ornaments and mailed them to each other in time to enjoy for the holiday season. I loved doing this because it's a great way to increase your ornament collection with pieces that 50,000 others have.  I love seeing what other people create and it's interesting to see everyone's crafty comfort level.  It also ties into my philosophy of supporting local businesses and having a more handmade lifestyle. 

In 2011, I participated again and am really late in sharing the ornaments I received, sorry!!   I decided to make felt sugar skulls.  They turned out kinda quirky cute.


I received a felt gingerbread house, yarn lion, paper ornaments, and a button wreath.


Friday, December 30, 2011

Handmade laptop case

Last month I purchased a new laptop and I needed a new laptop case to go with the new laptop right?  I searched some stores and did not find one I liked, so I decided to whip one up.  If you haven't sewn a laptop case before they are super easy. I did not use a template, but if you are one who needs a tutorial, then you can google laptop cases and tons will show up.

I decided to wing it and wrapped fabric around my laptop to see how much I wanted then cut, sewn, see if it fits. I used a 1/4" padding because I am rough on my laptop when I travel and I wanted to make sure it was nice and cozy.  If you plan on using padding make sure you add extra fabric to account for the added thickness. For the anal sewer this might seem like maddness, but that's how I roll sometimes.  After two hours here  is the end result and I love it!!


Wednesday, December 21, 2011

Kitchen Play Mat

You might remember my nephews messenger bag play mat, well once my friend saw it, she asked me to make one for her friend's daughter.  After racking my brain on what kind of mat to make I decided on a kitchen.  There are tons of kitchen play mats out there so if you are looking for ideas, just google kitchen play mat.

I put four burners on the mat with a sink.  I added a fridge that opens up with a shelf on the inside.  I decided to make some food for her to play with and had so much fun making the felt food; it was hard to stop and not continue to make more.  The soap is removable, and the water is blue ribbon.  I wanted to make the mat very interactive and have lots of texture for her.  I hope she loves playing with it.


Sunday, December 18, 2011

Messenger bag play mats

A couple of weeks ago as I started to think about what to make for my nephew this Christmas, I came across this play mat over at Serving Pink Lemonade.  Super cute dino play mat and I decided to make one; I though the mats would be perfect for him to play with when they go out to eat.  But as I starting thinking about it, I was wondering how in the world my nephew could carry it around with his dinosaurs.  Then it hit me to make a messenger bag that folds out into a play mat!  When I did some searching to find a easy messenger bag to make, I stumbled across someone else who had this great idea, Gingercake made one from corduroy.

I also decided to make a play car mat that folds up into the bag, so he'll have some options.  I had so much fun making these mats, I just finished a kitchen play mat for a friend's daughter (I'll post those photos tomorrow).


Tuesday, December 13, 2011

Sheath dress obsession

I have this mild obsession with sheath dresses.  Not only are they flattering, but they are incredibly sexy.  They form a fabulous partnership with my late 1950's/early 1960's obsession.  It's one of those styles that you can repeat, but by changing the fabric, collar, or sleeve, you have a totally new look.  My sheath dress collection is growing and two more are in the works for this winter!

This dress was sewn using New Look's 6910, view C.  I made a couple of changes; added the fold over collar, and omitted the belt.  I love this pattern because it whips together in no time.  The only downside is I had to make changes to have it fit better. The back was way too wide and there was extra fabric in the shoulders.  I also make the neckline lower; high necklines make me feel like I don't have boobs.   Although I do want this Joanie dress.
I used a brown linen for the dress, and a giraffe print poly for the lining.  I believe linings should be fun and can add a lot of character to a piece; the inside should look just as great as the outside! The applique on the bottom came off a Lance Karesh dress that had been in my closet for at least a decade.  Lance is a New York designer that I worked with briefly.  The company I used to do production for backed him for a couple of seasons and I helped with his production.